
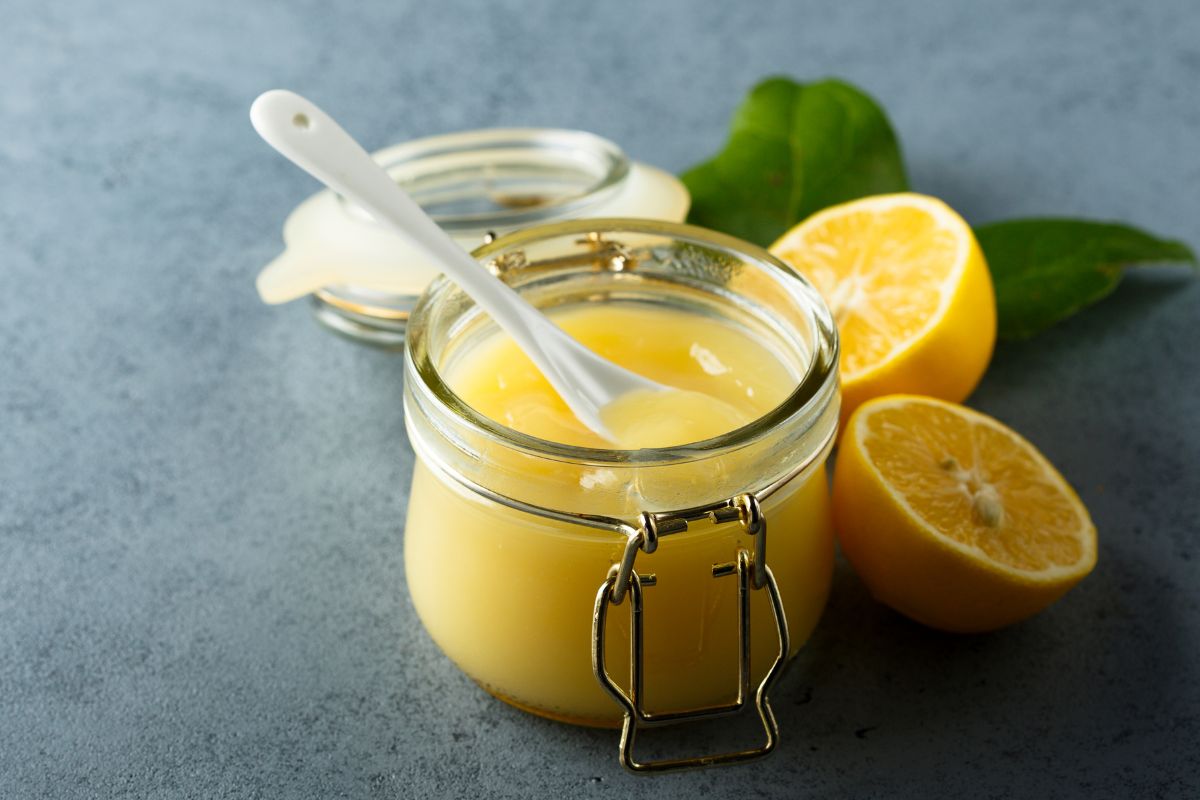
Everyone needs an easy lemon curd recipe in their repertoire. It’s great for dolloping on ice cream, sandwiching between cakes or simple spreading on fresh bread.
Thankfully, lemon curd can be simple to make if you follow this recipe. All you need is 4 ingredients and you will have the perfect lemon curd that will last for several weeks in your refrigerator.
What Do You Need?
You will need to sterilise one or two small jars to keep your lemon curd in once it is made. To do this, wash the jars in hot soapy water or put them through a dishwasher cycle.
Once the jars are clean, fill them with boiling water and then empty them.
Place the empty jars on a tray in the oven at about 240 degrees Fahrenheit for 20 minutes while you make the lemon curd. Pour the freshly made lemon curd into the jars while they are still hot.
To make the lemon curd you will need to zest and juice the lemons. You will need a grater and a lemon juicer. You will need a small bowl for the zest, one for the juice and another to beat the eggs in.
For state-of-the-art graters and microplanes for all of your grating and zesting needs, click here.
The ingredients are heated and combined in a saucepan. You will also need a whisk.
Why not try bake our Almond Meal Cake as a treat this week?
Tips And Tricks
Here are some tips and tricks to help you ensure that your lemon curd comes out perfectly every time.
- Butter – Using room temperature butter will help it to melt much faster. You can also chop the butter into cubes beforehand – this increases the surface area and allows the butter to melt quickly. Make sure you are using unsalted butter rather than salted butter.
- Lemons – Make sure that your lemons are at room temperature rather than straight from the refrigerator. This will allow you to get much more juice from them. Use unwaxed lemons so that the zest is safe to eat. Before you juice the lemons, roll them between your palms or on your kitchen worktop. This pressure applied to the lemons helps to release the juices. If you want your lemon curd to be perfectly smooth, you may want to strain the lemon juice before you use it.
- Eggs – Prepare the eggs by cracking them into a bowl and beating them with a fork or a small whisk. This breaks up the yolk and combines it with the whites, but also helps to make the eggs nice and fluffy. This will help to thicken the curd mixture.
- Temperature control – the temperature control is very important for this recipe. The temperature needs to start off low while the butter melts and the sugar dissolves. You don’t want to burn the sugar or brown the butter as this will change the flavour of the curd. You then need to increase the temperature to medium while you add the eggs and whisk them in. However, it should not be higher than medium or the eggs could cook too quickly, ruining the texture of the curd.
- Whisking – As soon as you add the eggs you need to begin whisking. Keep whisking until the mixture is boiling, and then for a further minute to ensure that the curd is thick enough. You will know when it is thick enough as the mixture will coat the back of a spoon. If you don’t whisk the curd enough and let it thicken then it won’t set properly once it has cooled.
How Can You Customise This Recipe?
To customise this recipe you can change the flavour. You could try making orange curd instead – follow the same recipe but use unwaxed oranges instead of lemons.
Depending on the variety of orange you may need more or less than 2 of them. Some varieties are sweeter or juicier than others.
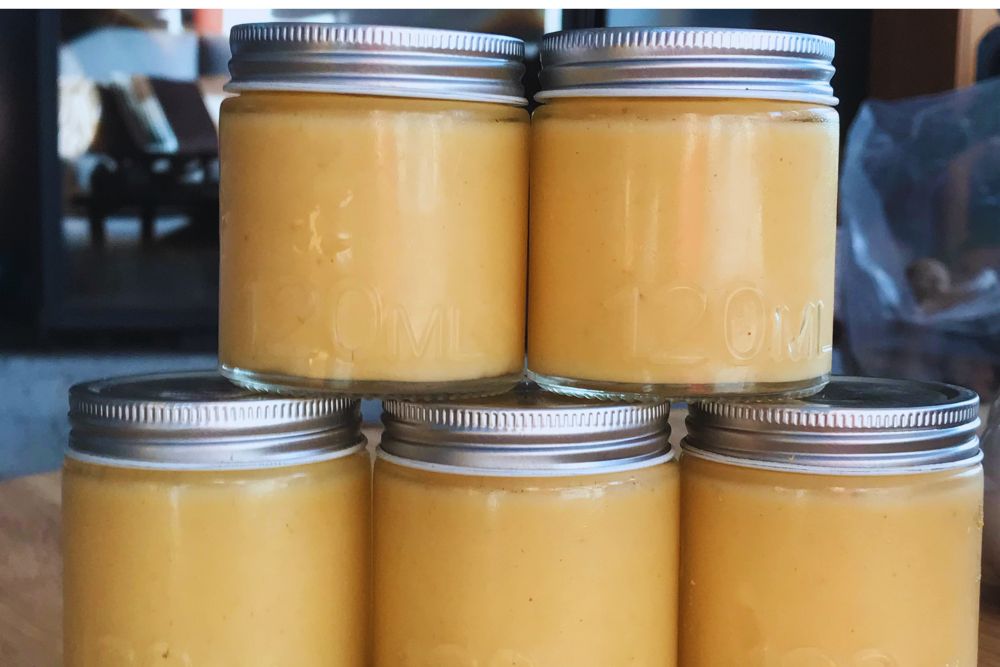
Another idea is to add a hint of spice to your curd. Why not try experimenting with star anise, cinnamon or even chillies? The batch pictured below has star anise and a grate of fresh ginger added to the basic curd. It’s a total winner on a warm, toasted crumpet.
Do you love the zing of citrus? Then here are some wonderful Grapefruit Recipes for you to try.
How Can You Use Lemon Curd?
There are lots of different ways to use your delicious, homemade lemon curd.
- Toast – Lemon curd is a lovely topping for toast. You can also use it on bagels or toasted English muffins.
- Scones – a traditional cream tea uses jam and clotted cream with the scones. You could use fresh lemon curd and some whipped cream for a light, summertime cream tea.
- Cake – Lemon curd is great for spreading between two sponge cakes along with some fresh whipped cream or butter cream. You can also use it to make your lemon drizzle cake even more exciting.
Do you need a few more Glass Jars for your batch of Lemon Curd? Click here for a range of jars in a variety of sizes.
- Cheesecake – You can use lemon curd in a cheesecake recipe to make a delicious dessert packed with zingy flavour.
- Biscuits – Have you ever tried spreading lemon curd on a biscuit? Once you give it a go it will be your new favourite snack.
- Custard – Try adding a spoonful of lemon curd next time you make custard to give it a lemon twist.
One of our favourite uses for this lemon curd is to use it in our Lemon Meringue Slice. Read more here.

Easy Lemon Curd
30
servings (10ml)5
minutes5
minutes43
kcalIngredients
200 g Caster Sugar
2 Unwaxed Lemons
55 g Unsalted Butter
2 Eggs
Directions
- Begin by preparing the ingredients. Chop the butter into cubes as this will make it melt faster and combine better with the other ingredients. Crack the eggs into a small bowl or jug and beat them with a fork or a small whisk to combine the egg yolk with the egg whites. Use a small grater to zest the lemons, collecting the lemon zest into a bowl. Use a lemon juicer to juice the two lemons and collect the juice in a cup or a jug.
- Add the sugar, lemon juice, lemon zest and butter to a saucepan over a low heat. Keep stirring until the butter has melted and the sugar has dissolved.
- Once the butter has melted and the sugar has dissolved, you can turn the heat up from low to medium. Add in the beaten eggs and start whisking immediately. Keep whisking the mixture until it has reached boiling point. Whisk for a further minute as the mixture keeps thickening, then remove from the heat.
- Pour your mixture into your pre-sterilized jars and seal them straight away. Let the jars cool down then store them in the fridge. The lemon curd will last for 2-3 weeks when stored in the refrigerator.
- Bouvardia – Our Review - April 23, 2024
- Pomelo Rooftop Bar - April 23, 2024
- Haiku Melbourne - April 23, 2024


